

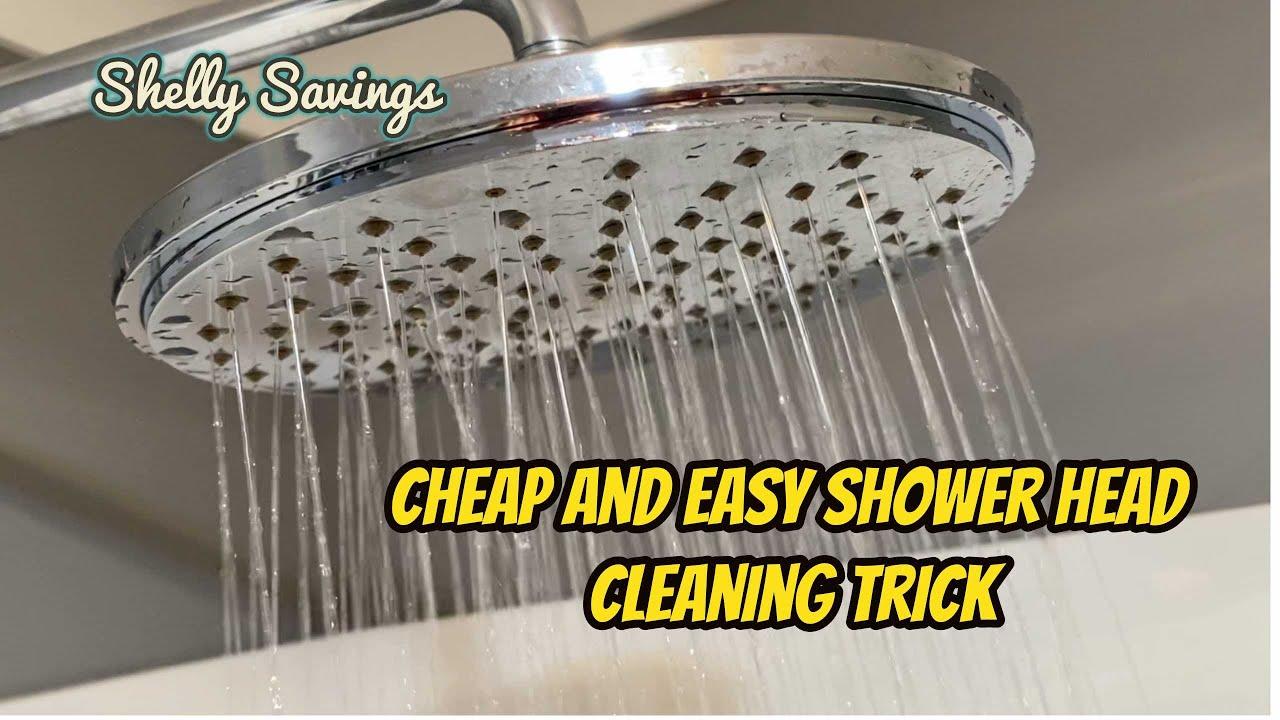
When it comes to maintaining a good and flowy shower, the bane most us contend with are mineral deposits. These pesky deposits can choke up your showerhead, degrade the pressure, and affect your overall hygiene. However, there’s no need for a callout; you can fix this on a Saturday arvo without even breaking a sweat! Join me as we go through the unpretentious process.
Contents
- Preparing for Showerhead Cleaning
- Gathering Essential Cleaning Supplies
- Tackling Non-removal Showerhead Cleaning
- Utilising Vinegar for Showerhead
- Employing Lemon Juice Method
- Deep Cleaning Your Showerhead
- Cleaning Showerhead’s Filter Screen
- Eradicating Calcium from Fixed Showerhead
- Recurring Showerhead Cleaning Strategies
- Additional Tips for Bathroom Cleaning
- The Final Rinse
Preparing for Showerhead Cleaning
Before you get started, ensure your shower is off and dry for safety purposes, in line with Plumbing Council of Australia’s guidelines. Additionally, spread textiles or old towels around the area to catch any water drips. If your water pressure has been off-chops due to hard water build-up, this cleanout is going to make an immense difference.
Gathering Essential Cleaning Supplies
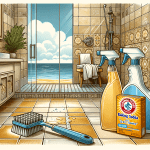
You don’t need fancy products for this. Get yourself a plastic bag, rubber band or string, white vinegar, baking soda aka sodium bicarbonate, an old toothbrush, lemon juice and possibly Mr. Clean detergent for some extra Aussie sparkle.
Tackling Non-removal Showerhead Cleaning
Not all showerheads are removable, no worries! Attach the bag filled with vinegar onto your fixed showerhead using the rubber band. Ensure that the showerhead is fully immersed. Leave this setup overnight so that vinegar can effectively dissolve mineral deposits.
Utilising Vinegar for Showerhead
Vinegar being acidic naturally breaks down mineral deposits. Studies show soaking showerheads in vinegar for 30 minutes to an hour can dissolve these deposits but experts recommend leaving it overnight for top-notch results. The vinegar method has been found to remove 99.9% of bacteria contributing to biofilm build-up.
Employing Lemon Juice Method
If vinegar isn’t handy, lemon juice works as an excellent home remedy. The citric acid in it effectively cleans the deposits and eradicates bacteria. Moreover, your bathroom doesn’t end up reeking of vinegar.
Deep Cleaning Your Showerhead
After soaking, use your handy old toothbrush to scrub off any residue. Make sure to clean every nook and then rinse the showerhead properly. If necessary, repeat the process until you get the desired outcome.
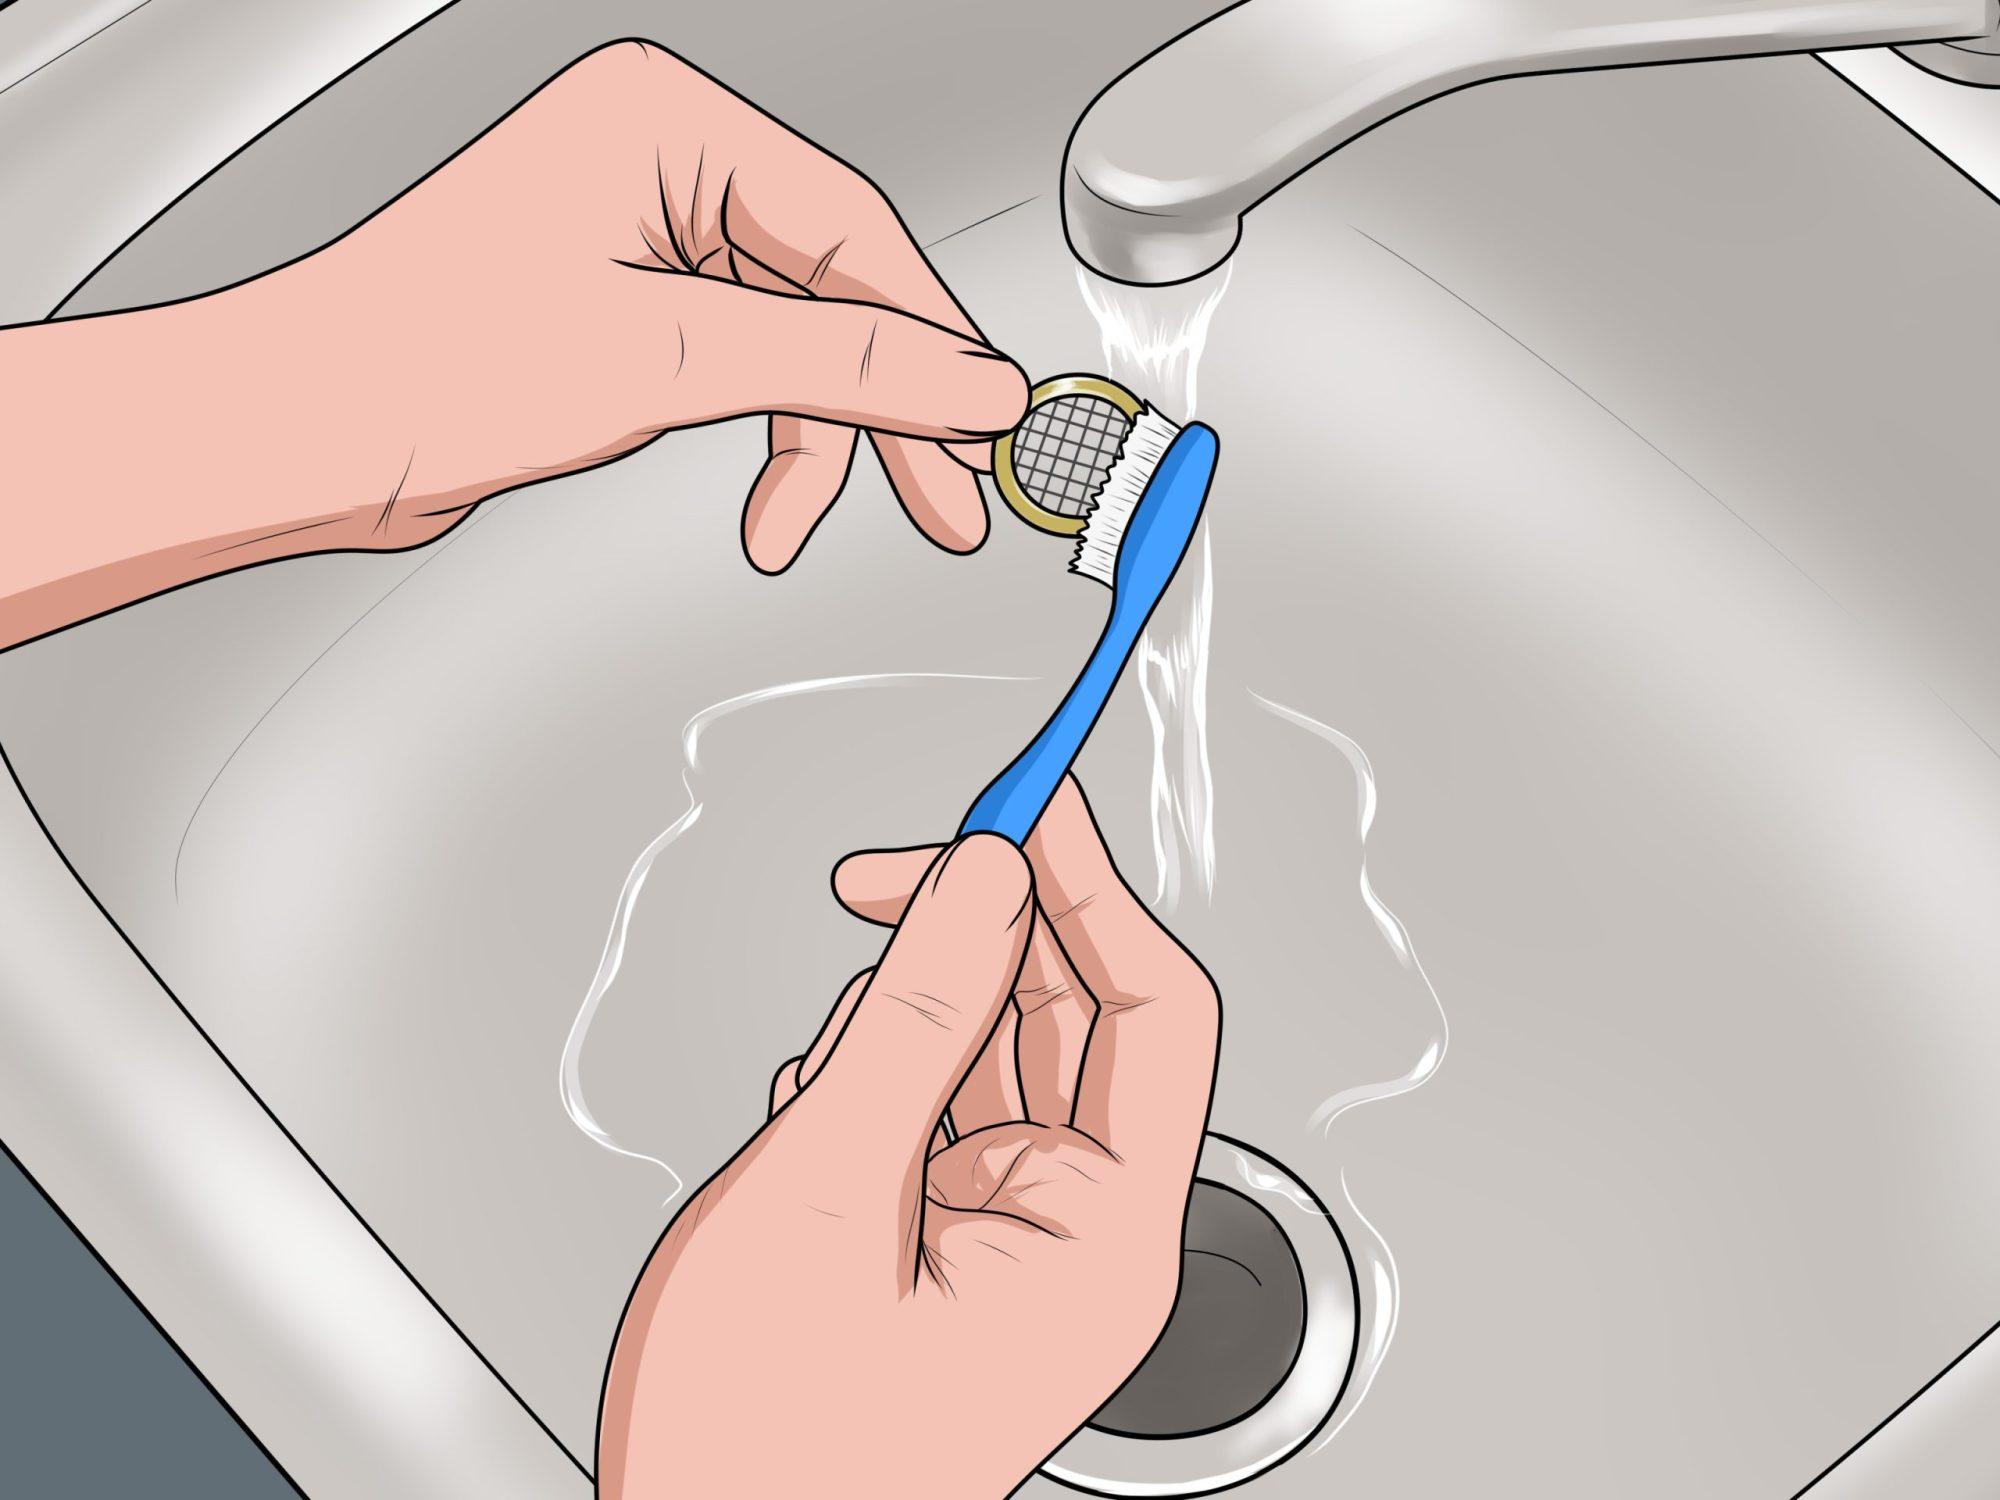
Cleaning Showerhead’s Filter Screen
The filter plays a massive part in maintaining water pressure but it often gets overlooked during cleaning. When unscrewing the showerhead for deep-cleaning, remove the filter screen gently and clean it separately. This will ensure long-lasting and satisfactory results.
Eradicating Calcium from Fixed Showerhead
Tackling calcium can be tricky due to its stubborn nature. Again, vinegar is your friend here. For fixed showerheads soaked overnight in a vinegar solution, stubborn calcium deposits usually soften, making them easier to remove with a brush or cloth.
Recurring Showerhead Cleaning Strategies
A good scrub every six months lets you keep on top of mineral deposit accumulation. Considering EPA’s estimation that 17% of all water used at home is for showering, it’s crucial you keep a regular cleaning schedule.
Additional Tips for Bathroom Cleaning
Beyond just showerheads, regular maintenance practices can extend the lifespan of other bathroom fixtures by up to 50%. For instance, gentle scrubbing with baking soda can keep your sink sparkling clean. Also remember not to overlook your tap as hard water affects it just like your showerhead.
The Final Rinse
Remember, a clean showerhead means cleaner water, better pressure, and improved hygiene. A routine practice can help you avoid expensive repairs, thereby improving the life expectancy of your bathroom fixtures. So, no more dawdling on the task, mates! Get in there and give those deposits a good scrub!
- How Do I Know When It Is Time to Replace a Cracked Porcelain Sink? - November 14, 2024
- What Should I Do If My Water Meter Is Spinning Unexpectedly Fast? - November 14, 2024
- Can a Plumber Help Me Replace a Leaking Garden Tap? - October 14, 2024
Related posts:
 Can Your Plumbers Fix a Dripping Showerhead?
 What Is The Best Way to Clean Kitchen Plumbing Fixtures?
 Can Your Plumbers Help Me Fix a Leaking Shower Diverter?
 What Causes Water Stains On Bathroom Walls?
 What Are Your Top Tips to Help Prevent Shower Drain Clogs?
 What Is The Best Way to Clean The Grout in My Shower to Keep My Gold Coast Bathroom Clean And Fresh?

