

If you’ve ever considered whether it’s possible to replace the flush buttons on a toilet suite yourself, you’re not alone. Everyday homeowners frequently consider taking this task into their own hands, and the good news is, it’s entirely feasible! With some know-how and the right set of tools, you can effectively manage this mini renovation.
Contents
- The Necessary Tools for Replacement
- Quick Steps to Replace Flush Button
- Changing Flush Button: A Walkthrough
- Replacement Procedure for Lid Button
- Overhauling the Flush Button on Lid
- Discussing Lid Button Swap Process
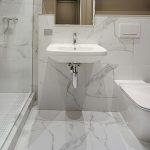
- Toilet Suite Transformation with Classic Paneling
- Tips for Keeping Shower Door Sparkling
- Maintaining Glass Shower Door’s Cleanliness
- Overarching Takeaways
The Necessary Tools for Replacement
To successfully replace a toilet flush button, you will need specific tools. A simple tool set consisting of a screwdriver and nut hardware is essential to the task. These materials are common and can be found in almost all tool kits around the house. A gasket might also be required based on the model of your toilet.
Alternatively, if you do not have these tools readily available, it’s quite an easy trip down to Bunnings Warehouse, a well-known Australian chain of home improvement, garden and hardware stores that has comprehensive plumbing sections. Other tools or local building materials can also be sourced from similar establishments.
Quick Steps to Replace Flush Button
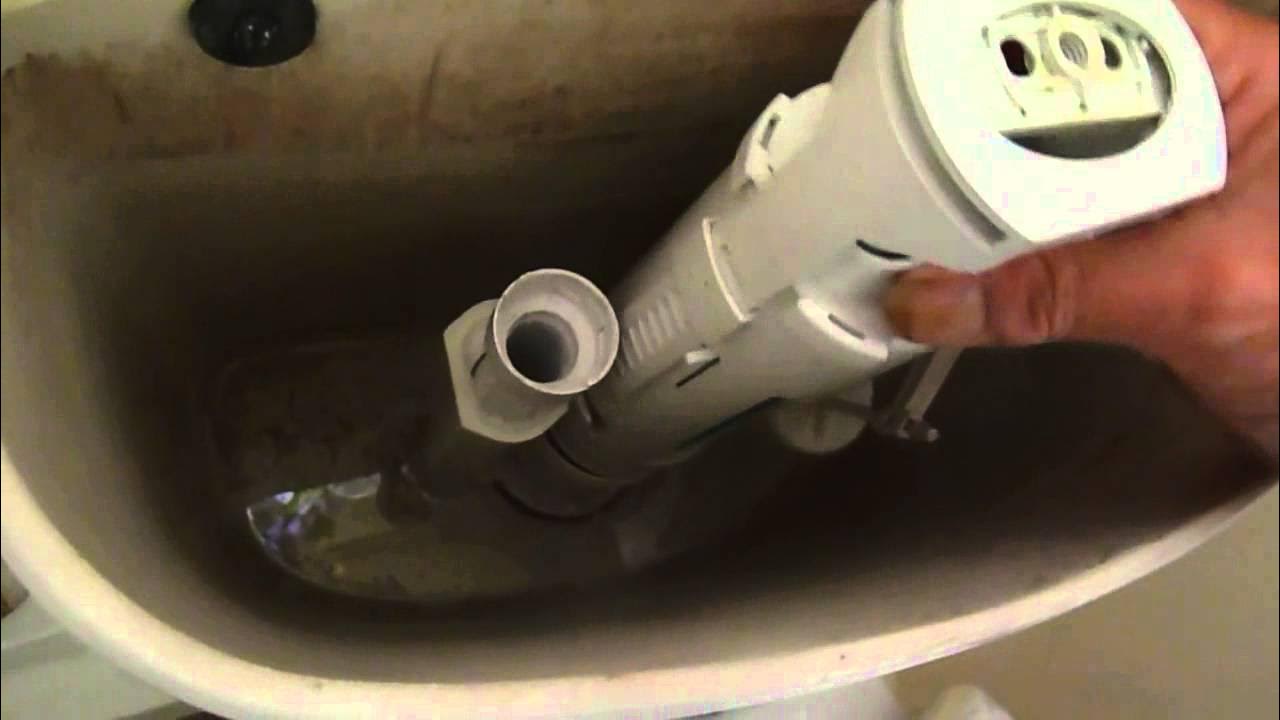
Before embarking on the replacement procedure, remember that opening the cistern case requires careful handling – you don’t want to crack the lid by applying excessive force. Generally, most lids simply need to be lifted off. Once you’ve got it open, remove the old flush button. If there’s difficulty in removing it, use your specified tools such as the screwdriver or nut fasteners.
Next, get your replacement flush button – sourced either online where availability is high with over 90% of home improvement stores offering a range of buttons suitable for various models or purchased from your local plumbing supplier. Insert this new button in place of the old one and ensure that it’s properly secured.
Changing Flush Button: A Walkthrough
In case you’re replacing a lid button instead, often found on concealed toilets commonly seen in contemporary bathrooms, remember that having a clear access path to your cistern is crucial. In most cases, this would involve removing some ceramic tiles or using a tool aptly called ‘hole saw.’
Please note that while replacing lid buttons might slightly deviate from the regular flush system replacement, the steps remain largely similar. Start by removing the cistern lid; loosen and pull out the old button, and replace it with the new button. Fix it securely to ensure minimal movement or clatter when flushing.
Replacement Procedure for Lid Button
To start, ensure you have properly disconnected your water supply to avoid flooding your bathroom when carrying out the replacement project. Once done, remove the cistern lid – perhaps the most delicate part of this process awaiting patient and careful execution. Using your tools, unscrew any fixing nut holding the old button in place and gently remove the damaged or faulty button.
Now, it’s time to bring in your new flush button. Mount it onto the designated hole in a firm yet cautious manner to guarantee that no unintended damage occurs. Once positioned correctly, use your nut fastener hardware to secure it in place. Lastly, reconnect your water supply and test out your newly installed toilet flush button!
Overhauling the Flush Button on Lid
In scenarios where an entire overhaul of your toilet flush button is required, due diligence should be exercised to ensure that every part of the replacement procedure runs smoothly. Begin by performing a systematic inspection to pinpoint any possible complications that may emerge during operation. For instance, don’t overlook elements such as worn-out nuts that need replacing or valves that require cleaning before commencing on this project.
To being overhauling process, disconnect the water supply to prevent leaks and floods during replacement. Carefully prise off any covering screw caps located on top of your cistern. Locate any screws holding your cistern lid – they will typically be found around these caps – and use a screwdriver to remove them. This exploration usually uncovers issues like worn-out parts earlier in the process, which significantly contributes to plumbing waste management.
Discussing Lid Button Swap Process
Who doesn’t appreciate a well-functioning toilet? Being able to navigate little hiccups like a broken flush button is an important aspect of maintaining your household’s sanity.
First, you need the proper equipment; this includes a new flush button assembly kit, a handyman’s favorite tool – the trusty screwdriver, and possibly a quality pair of pliers. You’ll start by removing the toilet lid, which is typically held in place with some nuts or clips. Then, unscrew the old button and remove it from the cistern. A little bit of hydraulic engineering knowledge will come into play to understand how everything connects.
Toilet Suite Transformation with Classic Paneling
Charisma isn’t just for people; even bathrooms can have their own unique charm! Toilet suites may seem mundane, but with intentional design elements like classic paneling, their appeal can be significantly improved. Scratched, chipped or just plain past-its-prime buttons might be taking away from that aesthetic you’re going for.
Imagine your toilet looking brand new, sporting shiny new flush buttons that align with the colour and material of your bathroom decor. On top of that, installing these buttons also enables you to dive into some minor DIY plumbing tasks along the way. Remember – while “making do” sometimes feels easier, there’s nothing quite like addressing those pesky problems head-on to improve your comfort and happiness.
Tips for Keeping Shower Door Sparkling
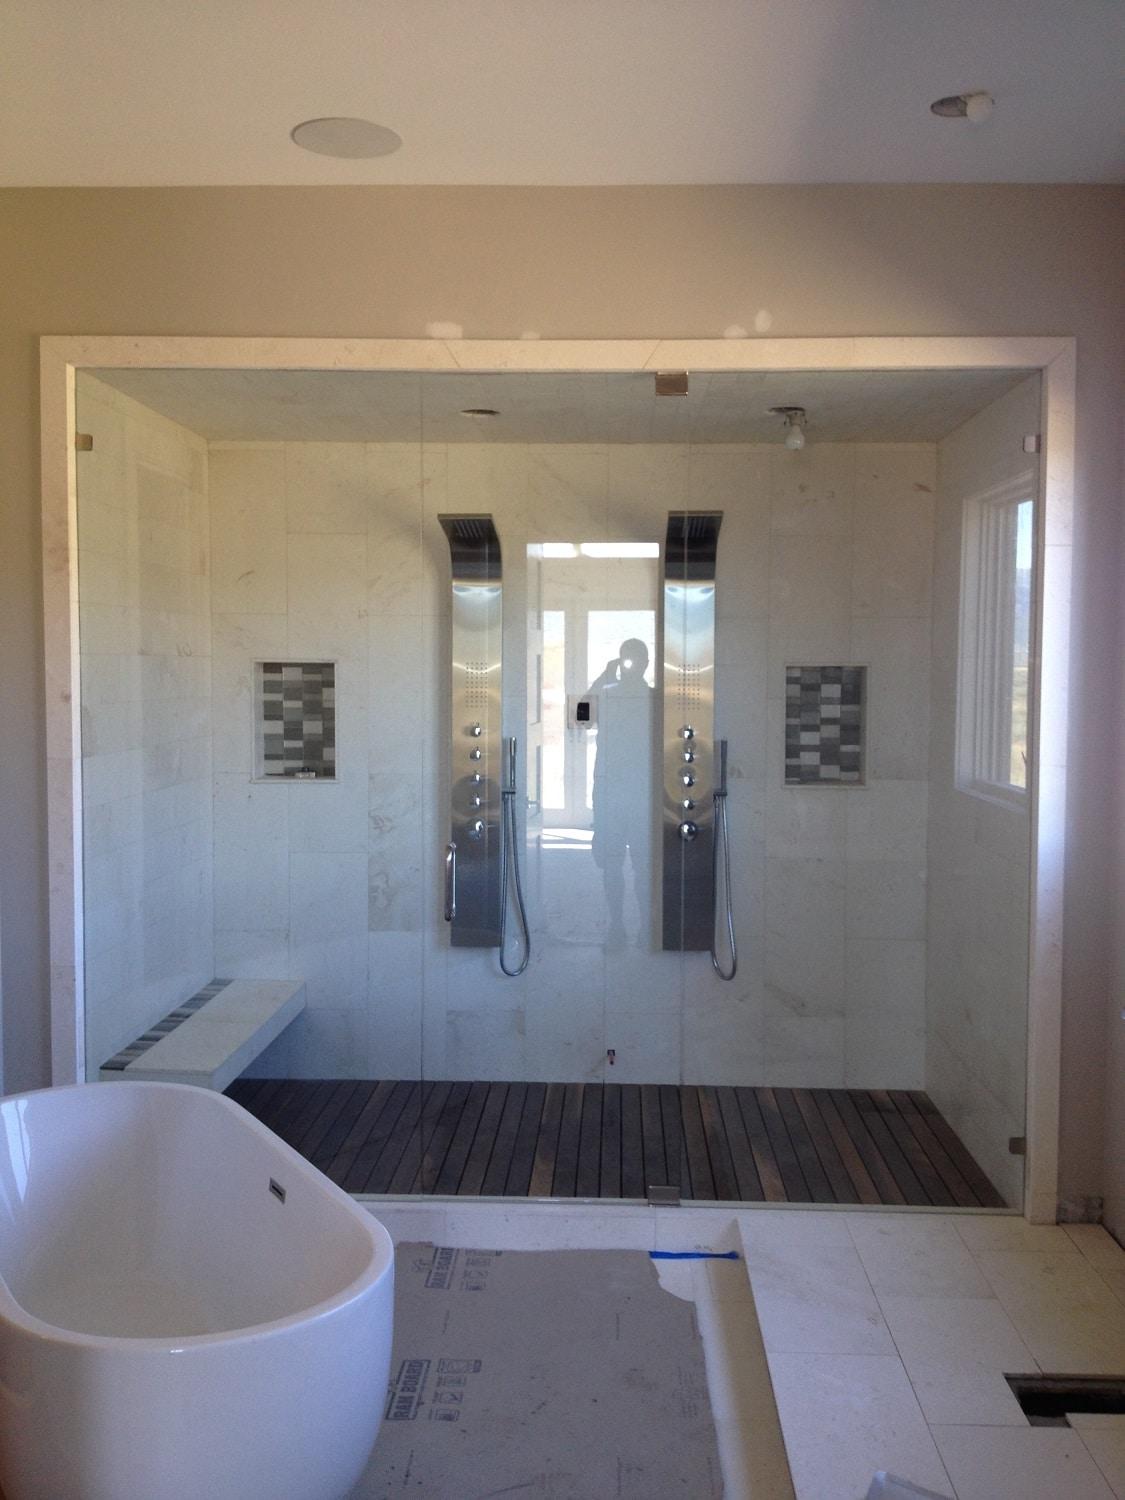
Beyond just getting your toilet in tip-top shape, let’s dive into another everyday bathroom issue – keeping that glass shower door sparkling! Trust me, no one enjoys those unsightly water spots and soap scum. Here are a few quick tips to keep up with this particular bit of hygiene and sanitation.
Did you know that common household vinegar can be your best mate when it comes to battling water stains? Spritzing some on the glass after each shower will do wonders for maintaining its clarity. A squeegee is also a great tool; a quick swipe down after showers prevents water spots from sticking around. Just remember – consistency is key!
Maintaining Glass Shower Door’s Cleanliness
While we all take pride in having clean bathrooms, the reality is they don’t clean themselves (I wish!). However, with a few simple post-shower routines, maintaining the cleanliness of your glass shower door can become second nature.
Why not make your own cleaning solution using vinegar and citrus peel? Its natural acidity helps cut through grime, while the citrus adds a pleasant aroma and helps to break down soap residue. Alternatively, use a commercial cleaner specifically designed for glass showers to achieve stunning results. To keep everything fresh, consider leaving the door slightly open after showers for better ventilation.
Overarching Takeaways
In conclusion, tackling minor plumbing fixes like replacing toilet flush buttons isn’t as daunting as one might think. With a few common household tools and some elbow grease, it’s completely achievable. Equally vital is maintaining the cleanliness of our bathrooms, specifically our glass doors, which require constant care to remain spotless. In essence, these efforts are steps towards creating a home that truly feels like our sanctuary.
- Can I Get a Plumber to Help Me Install An Under Sink Water Boiler in Our Office Kitchen? - September 14, 2024
- Can a Plumber Help Me Clear a Badly Clogged Toilet? - September 4, 2024
- Can a Plumber Help Me to Replace a Bathtub Drain Stopper? - August 29, 2024
Related posts:
 How to Know When You Need to Get a Plumber to Replace a Shower Cartridge? And How Do These Work?
 How Often Should I Replace My Plumbing Fixtures?
 Can a Plumber Help Me Install a Water-Saving Toilet in My Older Melbourne Bathroom?
 Can a Plumber Help Me If My Toilet Will Not Stop Running?
 Can a Plumber Help Me Replace a Kitchen Sink Sprayer?
 Are Plumbers Able to Fix a Running Toilet Tank And What Are The Common Causes?